A couple of days ago, I remembered about Pinterest – I set up an account on there ages ago, and made some boards and did some pinning, then forgot about it, largely because I bought an ipad and couldn’t find an easy way to pin from Safari, and because their app didn’t seem to do what I wanted it to.
But something inspired me to open the app again, and it’s lots better now. I also did some googling, and found how to add a ‘pin it’ button to my ipad bookmark bar, so I can pin things I find as I wander round the internet. I’ve gone a bit bonkers, pinning and repinning lots of things – apologies to anyone who follows me and is overwhelmed, it’ll calm down soon! I’m Minniemoll over there too, if anyone who doesn’t follow me wants to. Oh, and feel free to pin things from my blog if you want to – I know some people don’t like it, but I’m happy to be pinned!
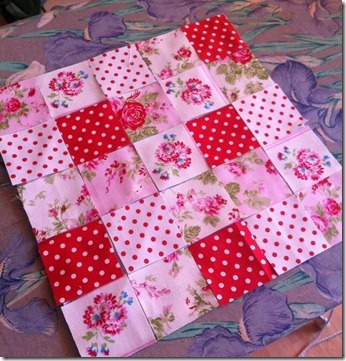
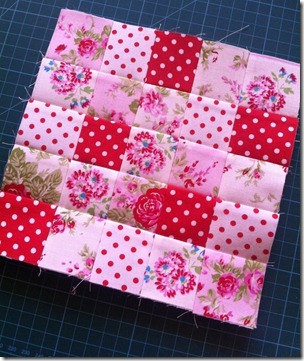
Anyway, one of the things I found and pinned was a link to this tutorial, for an easy way to piece small squares of fabric, and yesterday afternoon I couldn’t resist sitting down and having a go. I found some scraps of the fabric I used to make flowers in the summer, and cut out 25 2” squares, five in each design. Then I cut a 10” square piece of fusible interfacing, and arranged the squares on it.
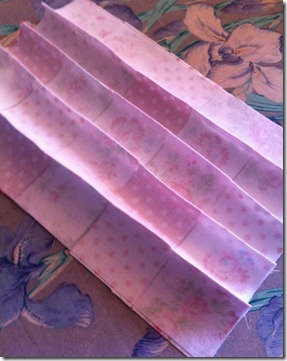
I ironed them on, then did the first row of seams, just folding the fabric right sides together at every join.
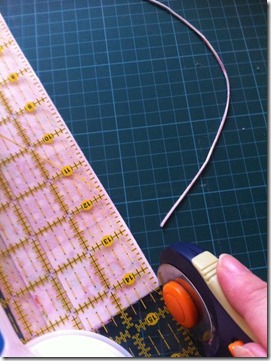
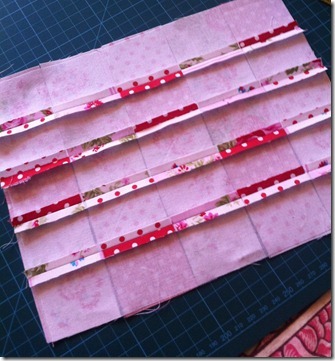
I trimmed the very edge of each seam – I started using a rotary cutter to just cut off a bit, which worked well for the edge seams, but not so much in the middle, where there was too much bulk under the ruler to hold it straight, so I used a pair of very pointy scissors instead.
And ironed the seams flat. I know you usually press them to one side for quilting, but I think that would make too much bulk, with the interfacing as well.
I then repeated the process with the other set of seams, and hey presto! A set of perfectly lined up squares with very little effort – just eight seams and a bit of ironing.
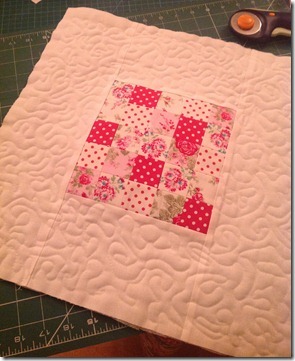
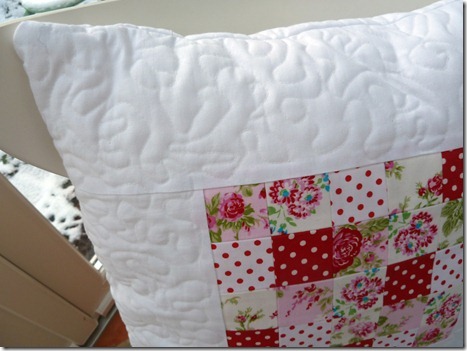
Of course I then had to think of something to do with such a pretty thing, and a bit of digging found some offcuts of plain white fabric, so I gave it a border, attached some wadding, and quilted the border, to make the front of a cushion.
Apologies for the photos above, by the way – I was snapping them on my phone, and it was a bit dark and murky yesterday.
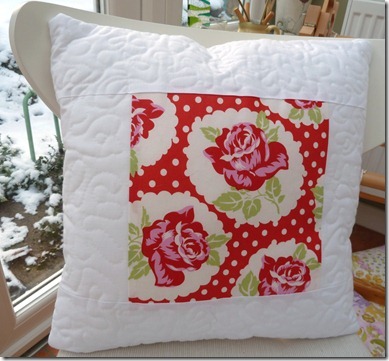
I thought I had enough plain white to make a back for the cushion, but I didn’t, so I did a similar thing, but with a single piece for the centre. Then I sewed the two halves together, leaving a gap on one side, inserted the inner, and hand sewed it closed – I thought about putting in a zip, but I couldn’t be bothered.
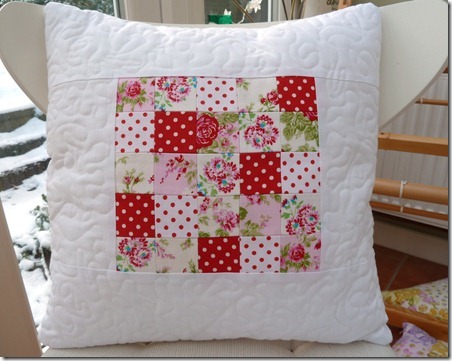
And this is the finished thing.
You can see the quilting on this one – I used the darning foot for my machine, lowered the feed dogs, and swirled away. It’s not perfect, but it’s not bad, and it frames the lovely panel nicely. The centre panel is 7.5” square, and the cushion is about 15” square.
